Here are some before pictures:


It was actually already painted quite nicely with tromp-l'oeil to make it appear to have raised panels. It just wasn't right for my space. It would have blended in too much with our freshly painted walls in Sherwin William's Windfresh White.
During:


Being the fan of milk paint that I am, and a lover of most everything blue and white (hence my blue willow collection), I chose Miss Mustard Seed's Milk Paint in Artissimo and finished it with Hemp Oil to give it a subtle sheen finish over the distressing I did by hand to show some of the former colors. Milk paint often looks quite flat and unappealing after application. The magic happens after it drys, is distressed to your liking, and then sealed. Sometimes it even crackles and chips on it's own. In my case, it didn't - so I lightly sanded the areas I wanted to look old and worn. I then finished with hemp oil to seal it. As you can see, I had a little help! I applied the oil with a brush, let it soak in, and then rubbed off the excess with old socks on both of my hands (and my little helper's hands too!) I buffed to a subtle sheen with those old socks too! The nice part of these products, is that they are totally natural and safe to use indoors - as there are no fumes.
 |
| The piles of stuff in my dining room have been put away! |


Here is the hanging process with my husband. We used 2 L shaped brackets at each level into the studs. Because it is going to be holding a fair amount of weight with dishes and other glass/pottery items, this was absolutely necessary. I first made a template of the rack. As you can see, I ran out of white paper and had to resort to newspaper. (Which I don't recommend as it made my hands black with ink and put spots on the the wall, that I had to wash off with soap and water on a soft sponge).
 |
| Please excuse the huge amount of clutter on top of the buffet. This is stuff for my booth and future creations! |
 |
| My personal stud finding the studs. ;) |

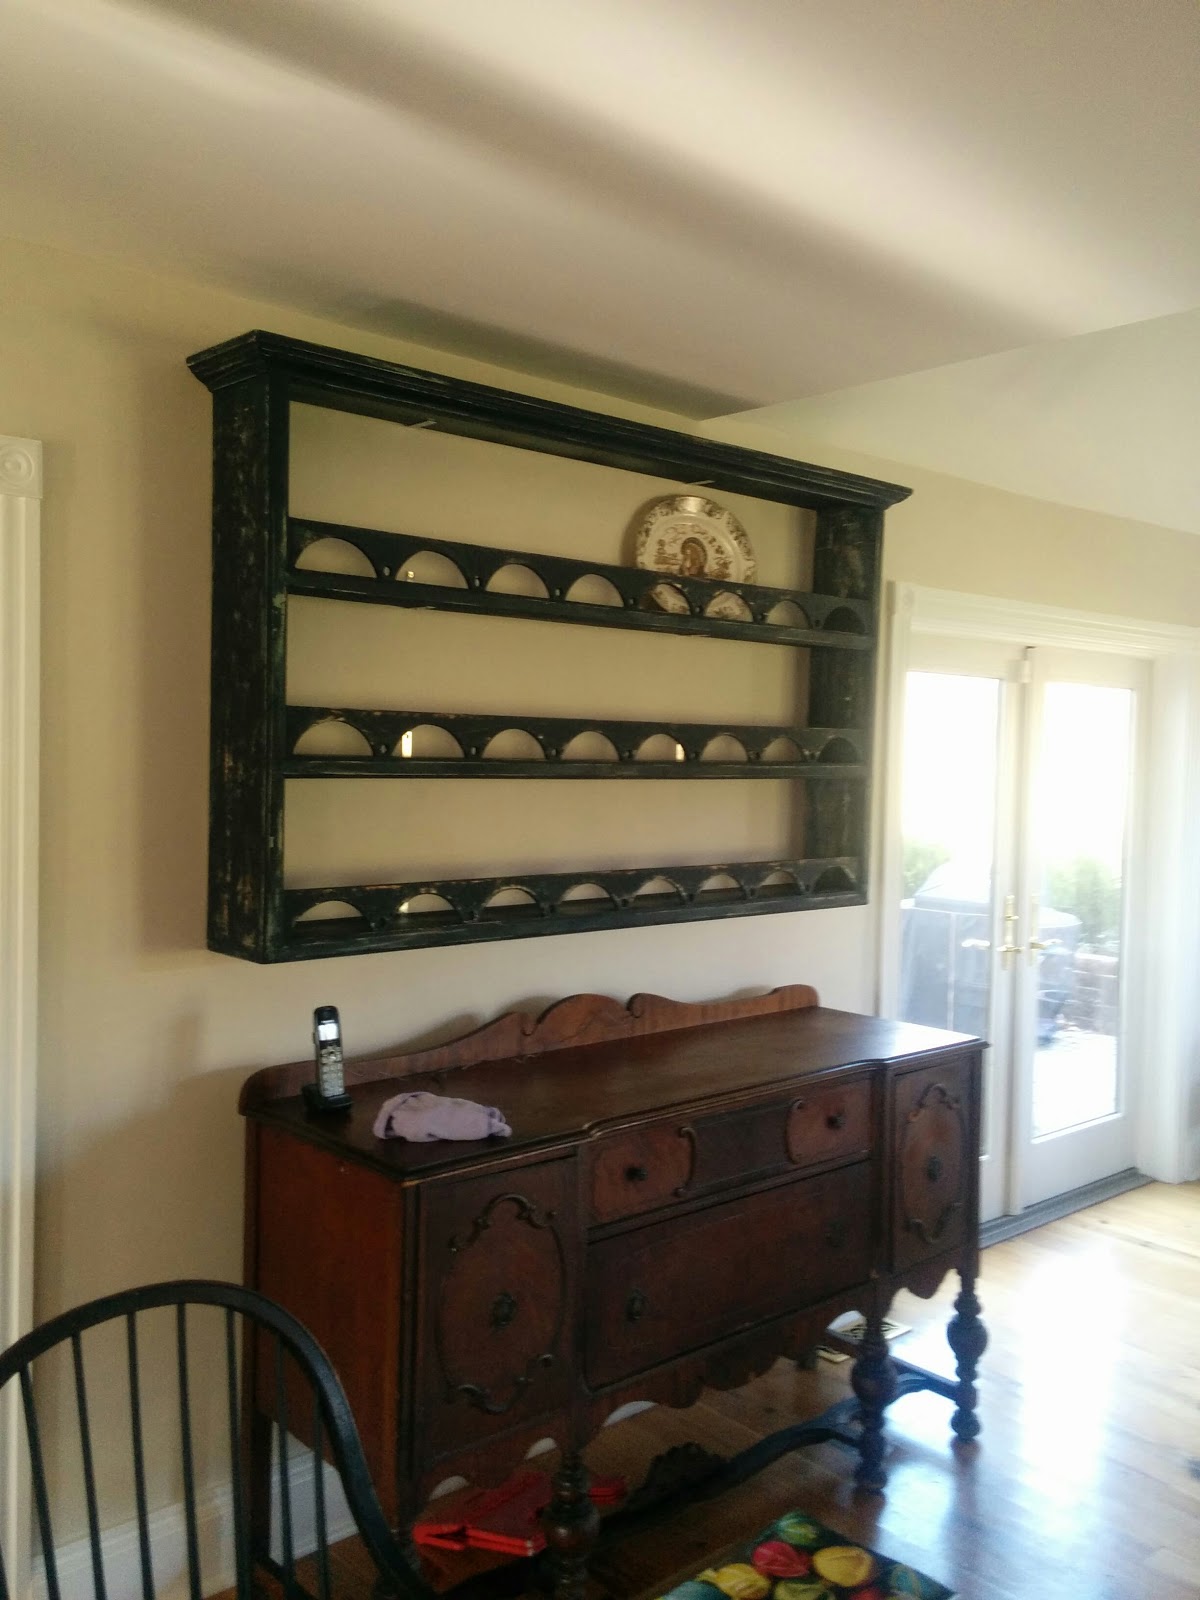 |
| We got to this point just in time for Thanksgiving! |
 |
| Ready for Christmas. Cheers! |

I still have to get the little black shelf up that I showed you in my last post here. I have a spot for it, but it's waiting patiently for me to hang. Hold on, honey, I'm getting to you!